Rate limit is common when consuming API’s: They control how many calls you can make in an interval of time.
I faced one challenge with the rate limit recently:
- My Azure function calls an external API
- The rate limit is defined by source IP – which is the outbound IP of the Azure function
- The calls are fast as real-time streaming
Out of the blue, the rate limit started to be reached. Why it was out of the blue and random I will not include here in this blog.
The point is we have little to no control about what outbound IP our Azure function will use. It gets one from a range of IPs available for azure functions.
I had to put the control of the outbound IPs in my hand and make a pooling of outbound IPs to work around the rate limit.
The Solution
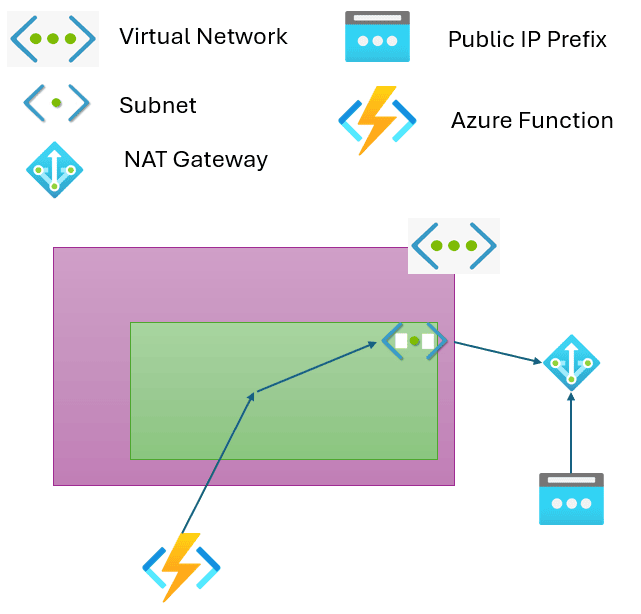
We can use a virtual network to control how the requests flow from my azure tenant to the internet.
A virtual network supports NAT Gateway. NAT means Network Address Translator. This means this guy stays in the middle of what’s in my virtual network and what’s out. It defines the outbound address and translates between the internal address and the outbound address in both directions.
However, an Azure function is a PaaS by default, it’s not part of a virtual network.
The secret: it can be. We can link either the azure function input or output or both to the virtual network, making the communication pass through the NAT Gateway.
Steps for the Solution
These are the steps to configure this solution:
- Create a virtual network with a subnet
- Create an IP Prefix – a pool of public IPs
- Create a NAT gateway using the IP Prefix and linked to the subnet
- Configure the azure function network to use the virtual network as output.
Security and Governance
We are talking about cloud network configuration.
Usually, in an ideal scenario, the cloud network would have been planned way ahead this point. Your company should have a team to manage it.
In this situation, you should talk to them and request the implementation of this solution.
The steps provided here are focused on illustrating the solution. In many situations your company cloud network management may require different steps.
Creating the Virtual Network For the Azure Function
These are the steps to create a virtual network:
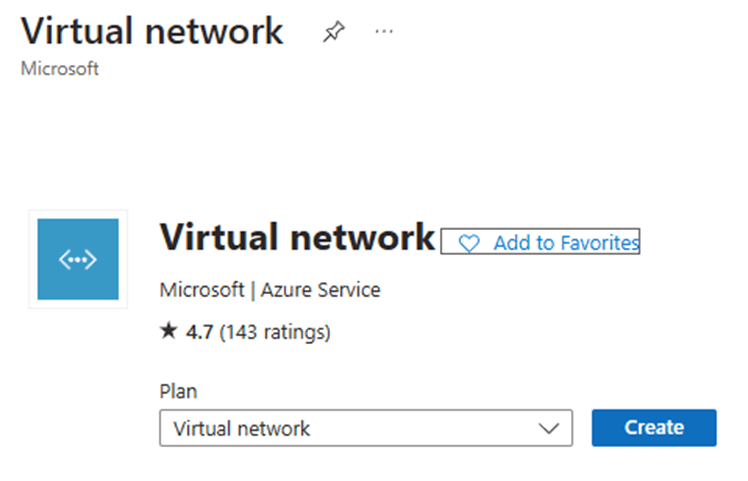
- In Azure marketplace, choose virtual network
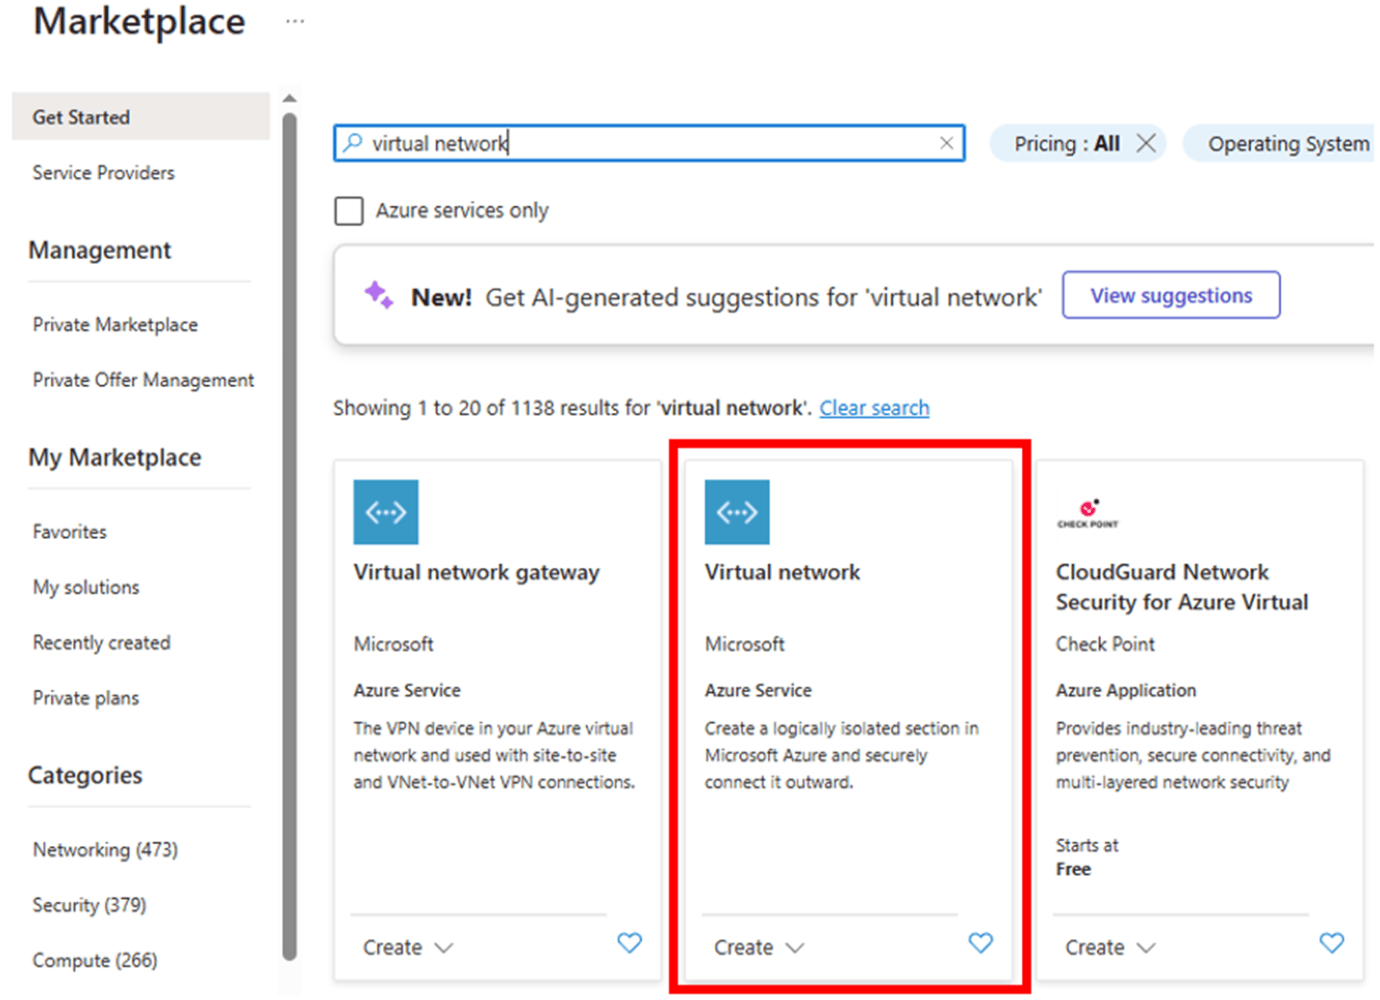
- Click the Create button
- Choose the region – it needs to be the same region as your function
- Choose the resource group
- Choose the vnet name
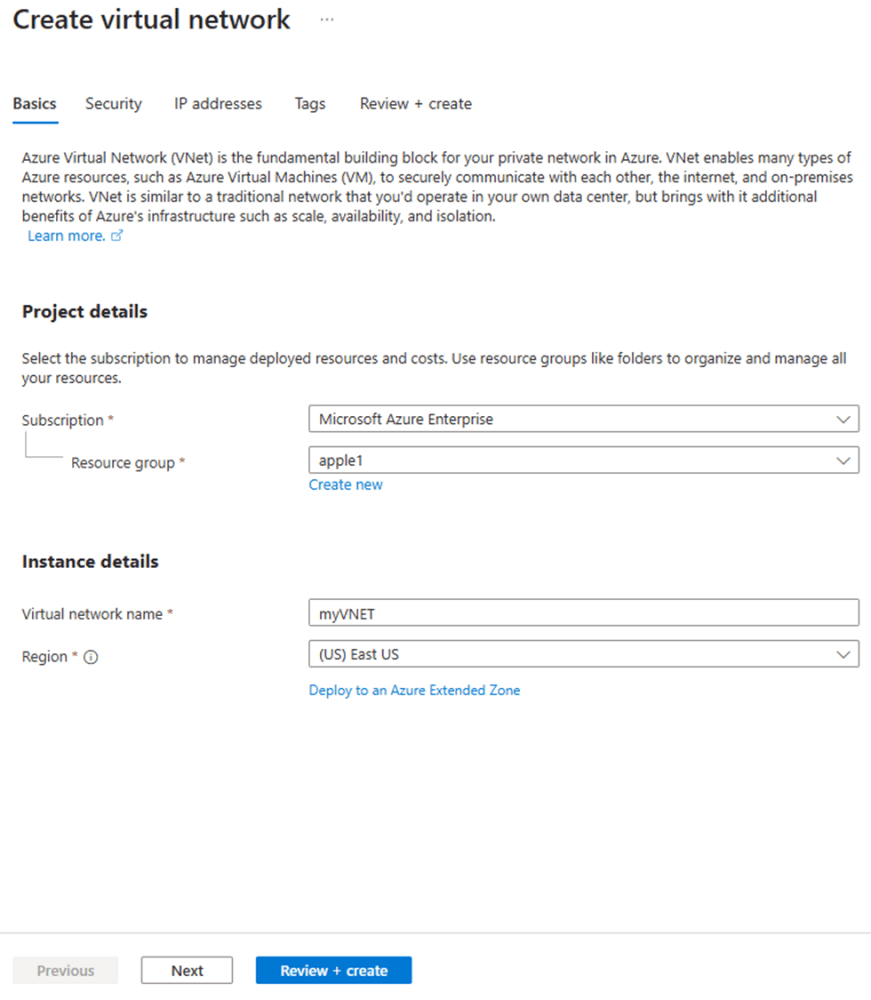
- Click Next twice. I will not go through additional security issues
- Choose the IP range. It should not overlap with any existing vnet, otherwise you will be creating a future problem
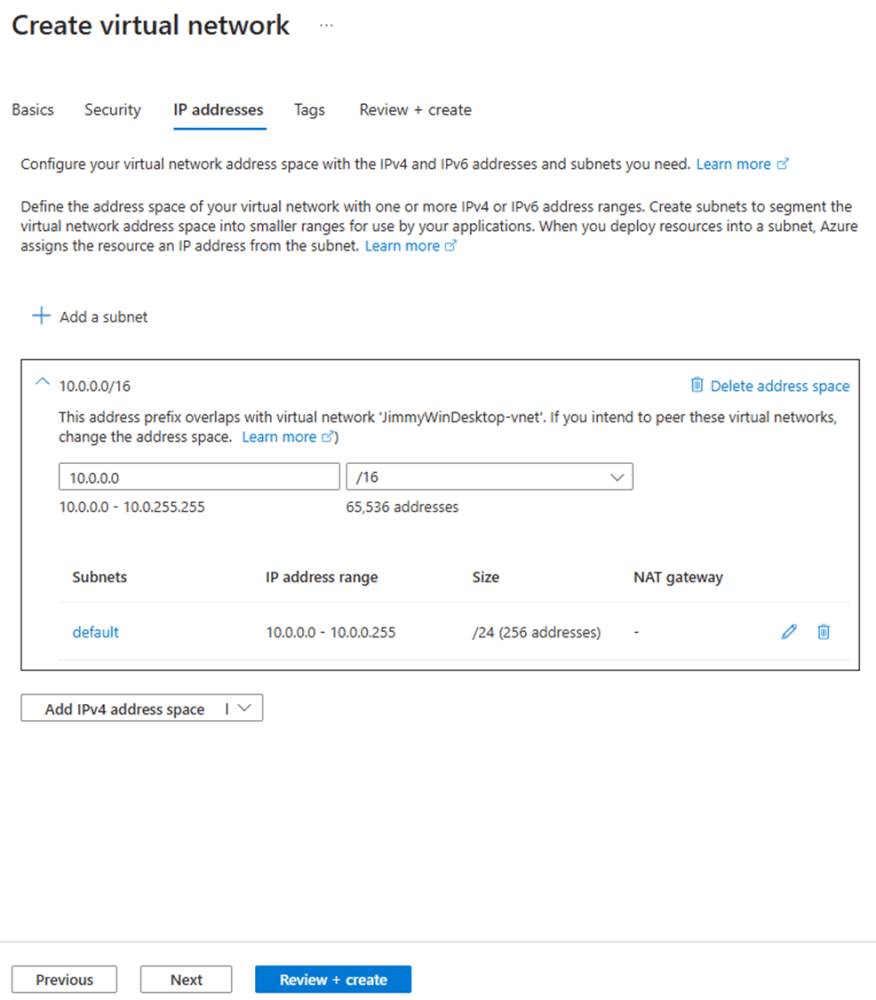
- Click Review + Create
Creating the IP Prefix
These are the steps to create the IP Prefix:
- On the marketplace, look for IP Prefix
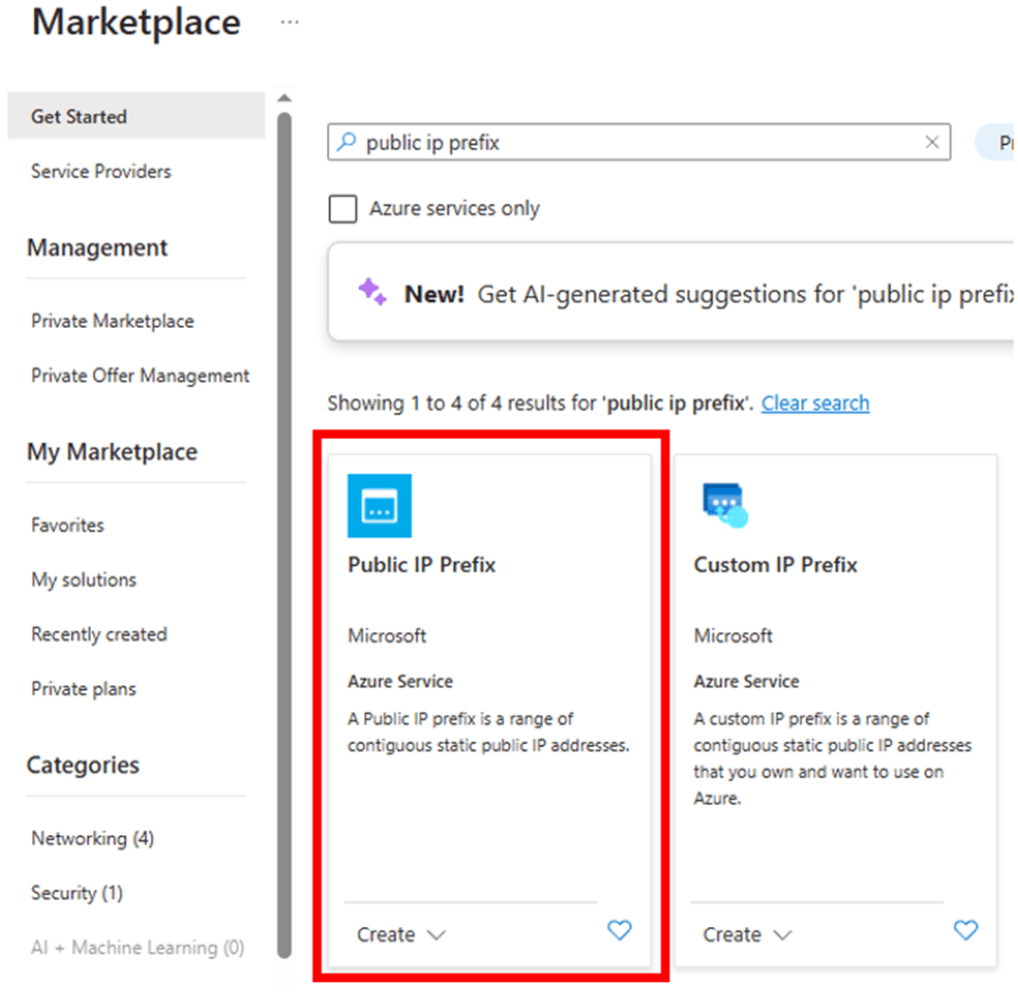
- Click Create
- Choose the region – it needs to be the same as the virtual network and function
- Choose the resource group
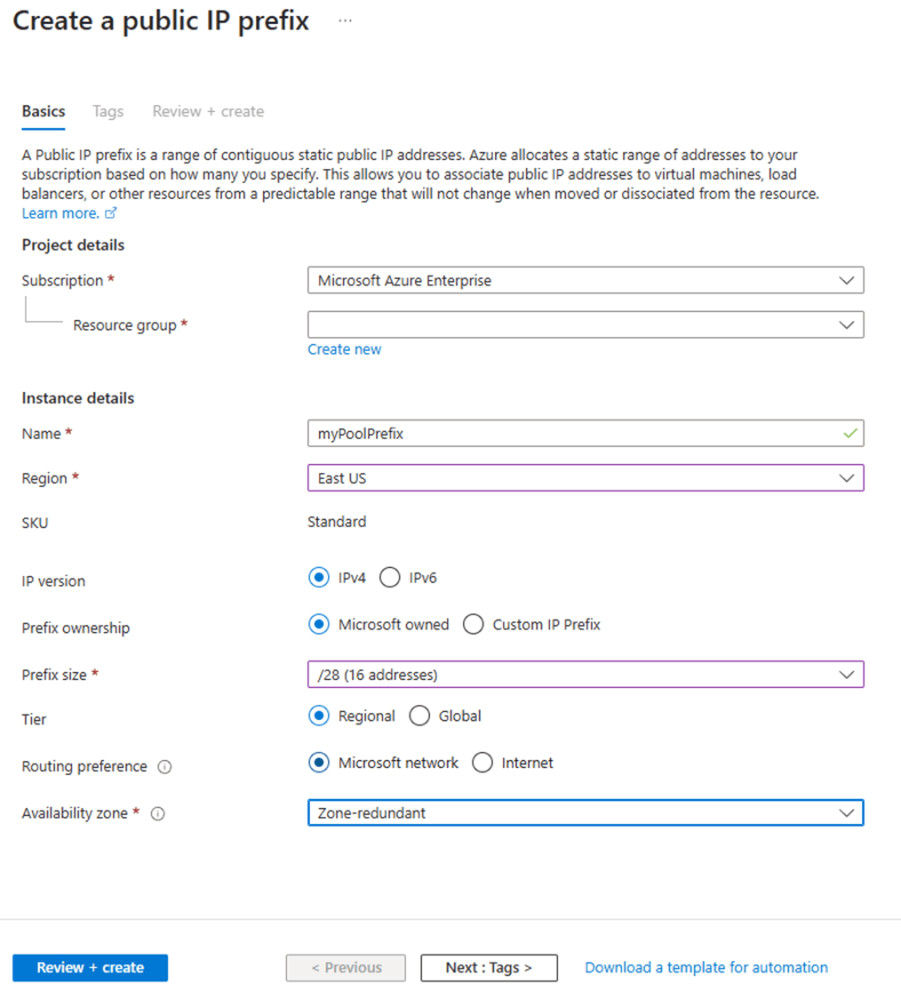
- Choose the prefix size. It defines how many IPs we will have in the pool
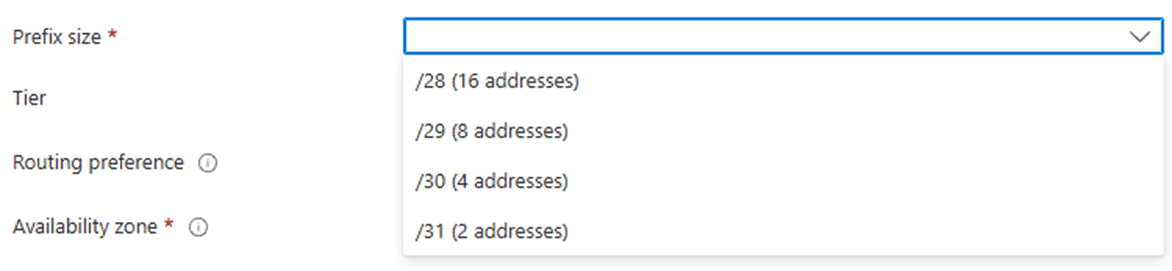
Prefix ownership allows you to use BYOIP. This is beyond this blog.
Routing preference affects a choice between security and cost. The default is for security. The details are beyond this blog
Availability Zone and Tier are two configurations for high availability of the IP Prefix. The details are beyond this blog
- Click Review + Create
Creating the NAT Gateway For the Azure Function
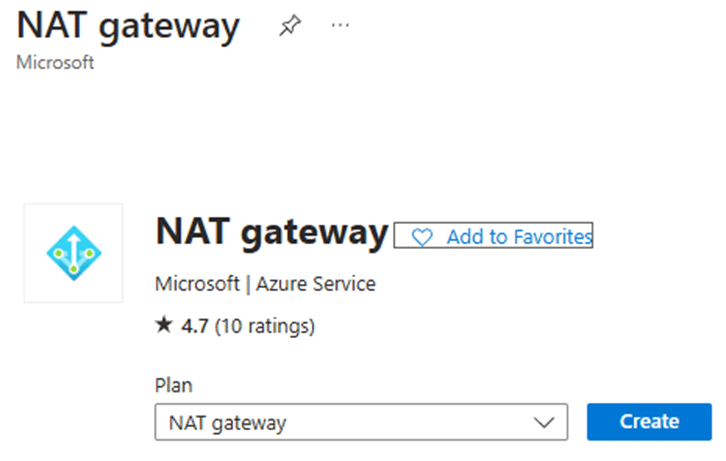
- Look for NAT Gateway on Azure Marketplace
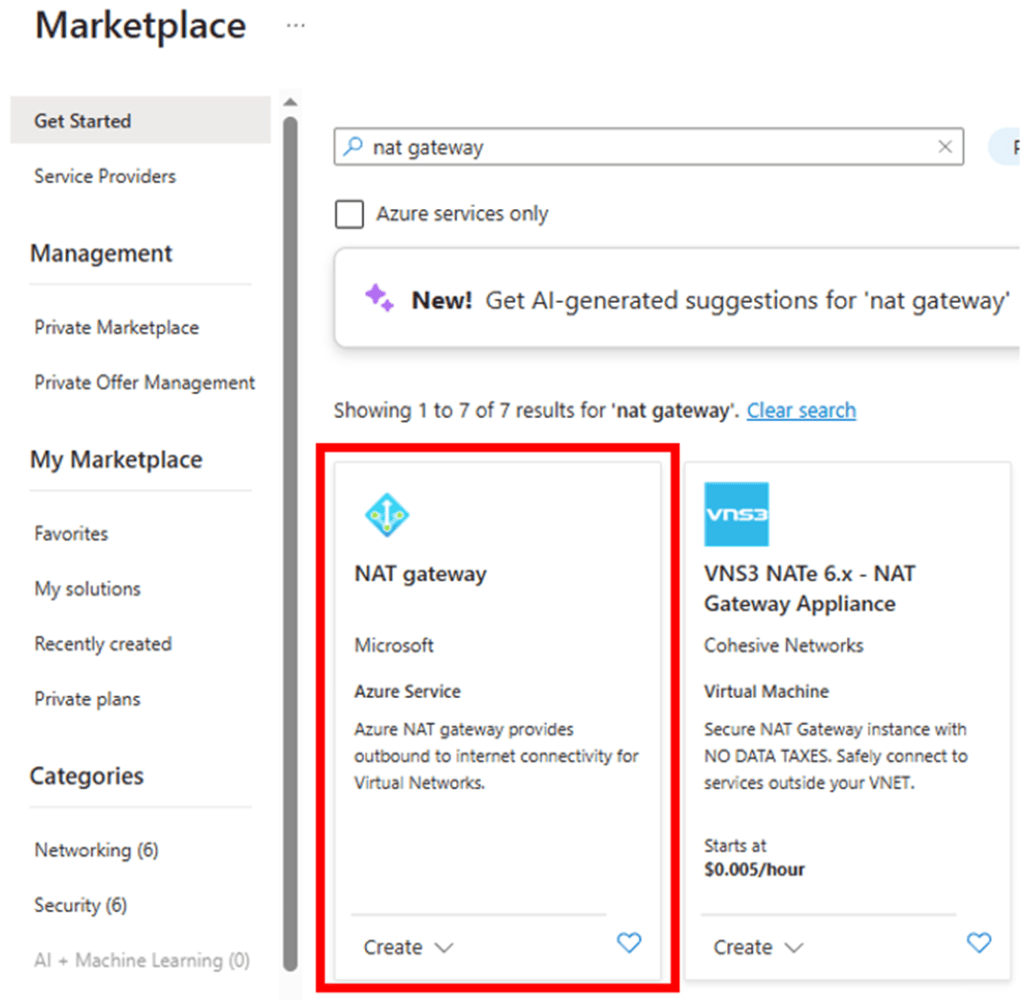
- Click Create
- Select the region, resource group and give a name to the NAT Gateway
The region needs to be the same as the other objects. You can also choose the availability zone, but I will not go into details about this.

- Click Next
- Choose the IP Prefix you created
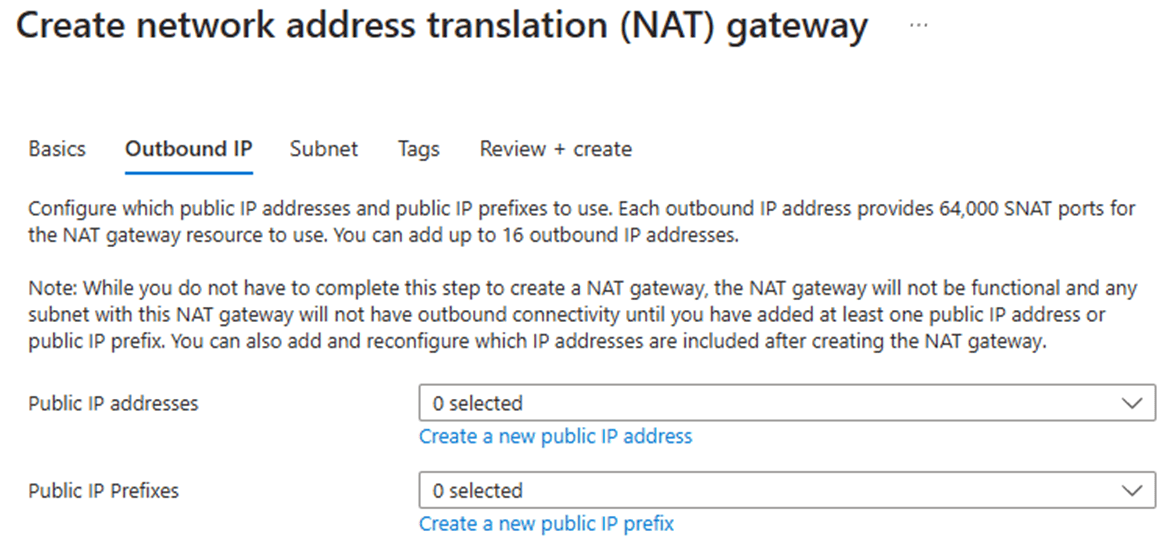
- Click Next
- Choose the virtual network and subnet you created
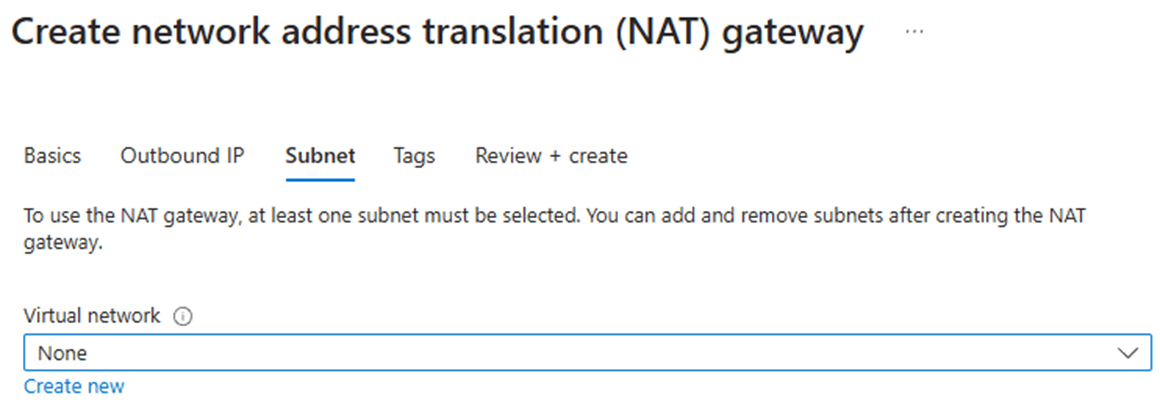
- Click Review + Create
Configuring the Azure Function output
These are the steps to make the function configuration:
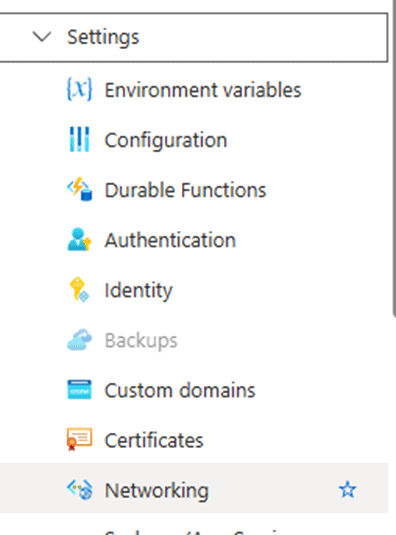
- Open the azure function
- Go to networking
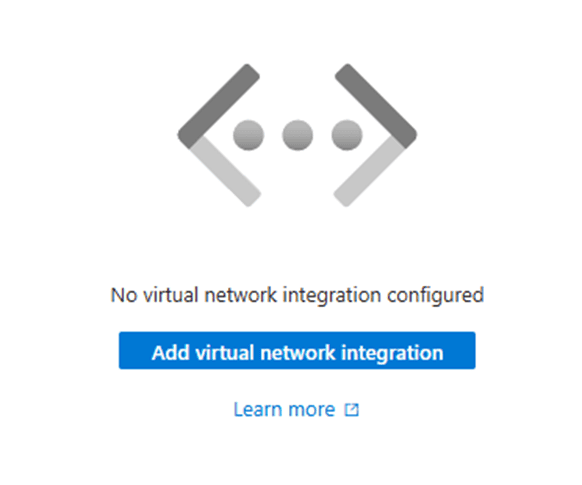
- On the Outbound traffic configuration, click virtual network integration

- Click Add Virtual Network Integration
- Select the Virtual Network
- Select the Subnet
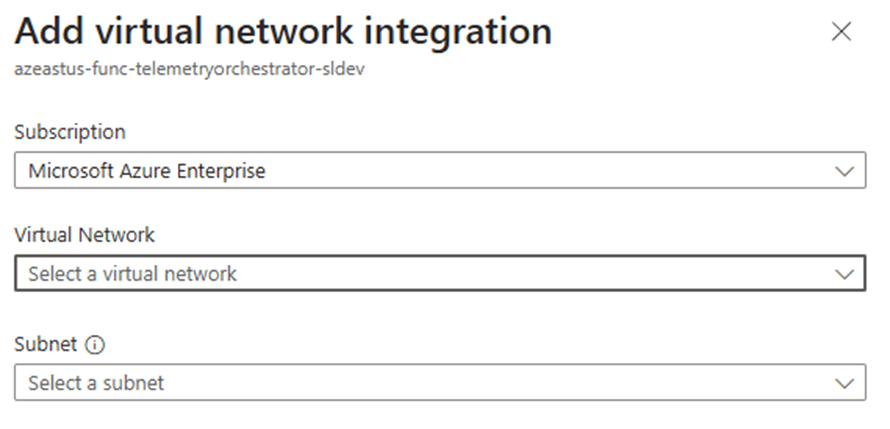
- Click Connect
Check the results
We can check the results of the configuration by monitoring the NAT Gateway:
- Open the NAT Gateway
- Click on Insights
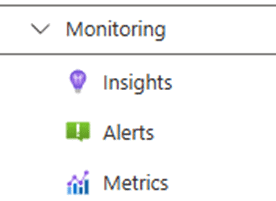
- Click on View Detailed Metrics

If your function is active and receiving calls, you will immediatelly see the inboud and outbound data.

Conclusion
This is a very interesting solution for an architectural problem, but it requires teamwork between developers, architects and cloud network engineers.
The information is provided to help to solve architectural problems. I’m not responsible for evil ideas some architects may have about these configurations.
The post Azure Function & API Rate Limits: How NAT Gateway Helps You Stay Under the Radar appeared first on Simple Talk.